Saturday, March 29, 2025

Winter 2025 - Handmade Greeting Cards Workshop - March 19, 2025

Happy Spring everyone!

Hope you are well and enjoying the nice sunny weather. Below is a quick recap of the cards we made in class. Our last Card Making class for Winter 2025 will be on April 2, 2025. 

FYI, the Spring 2025 class schedule is posted online at the PVPUSD website.

Take care,

Connie

Thinking of U Stickers: Apply gold peef-off butterflies & sentiment stickers to vellum panel and glue onto washi paper. Adhere paper onto gold mat and onto ivory card base.
 
Lighthouse Iris Folding: Follow pattern to adhere the pattern papers to negative die cut panel. Sponge Paris Dusk Memento ink onto bottom card front and Bahama Blue onto top card front. Add sentiment sticker to finish.

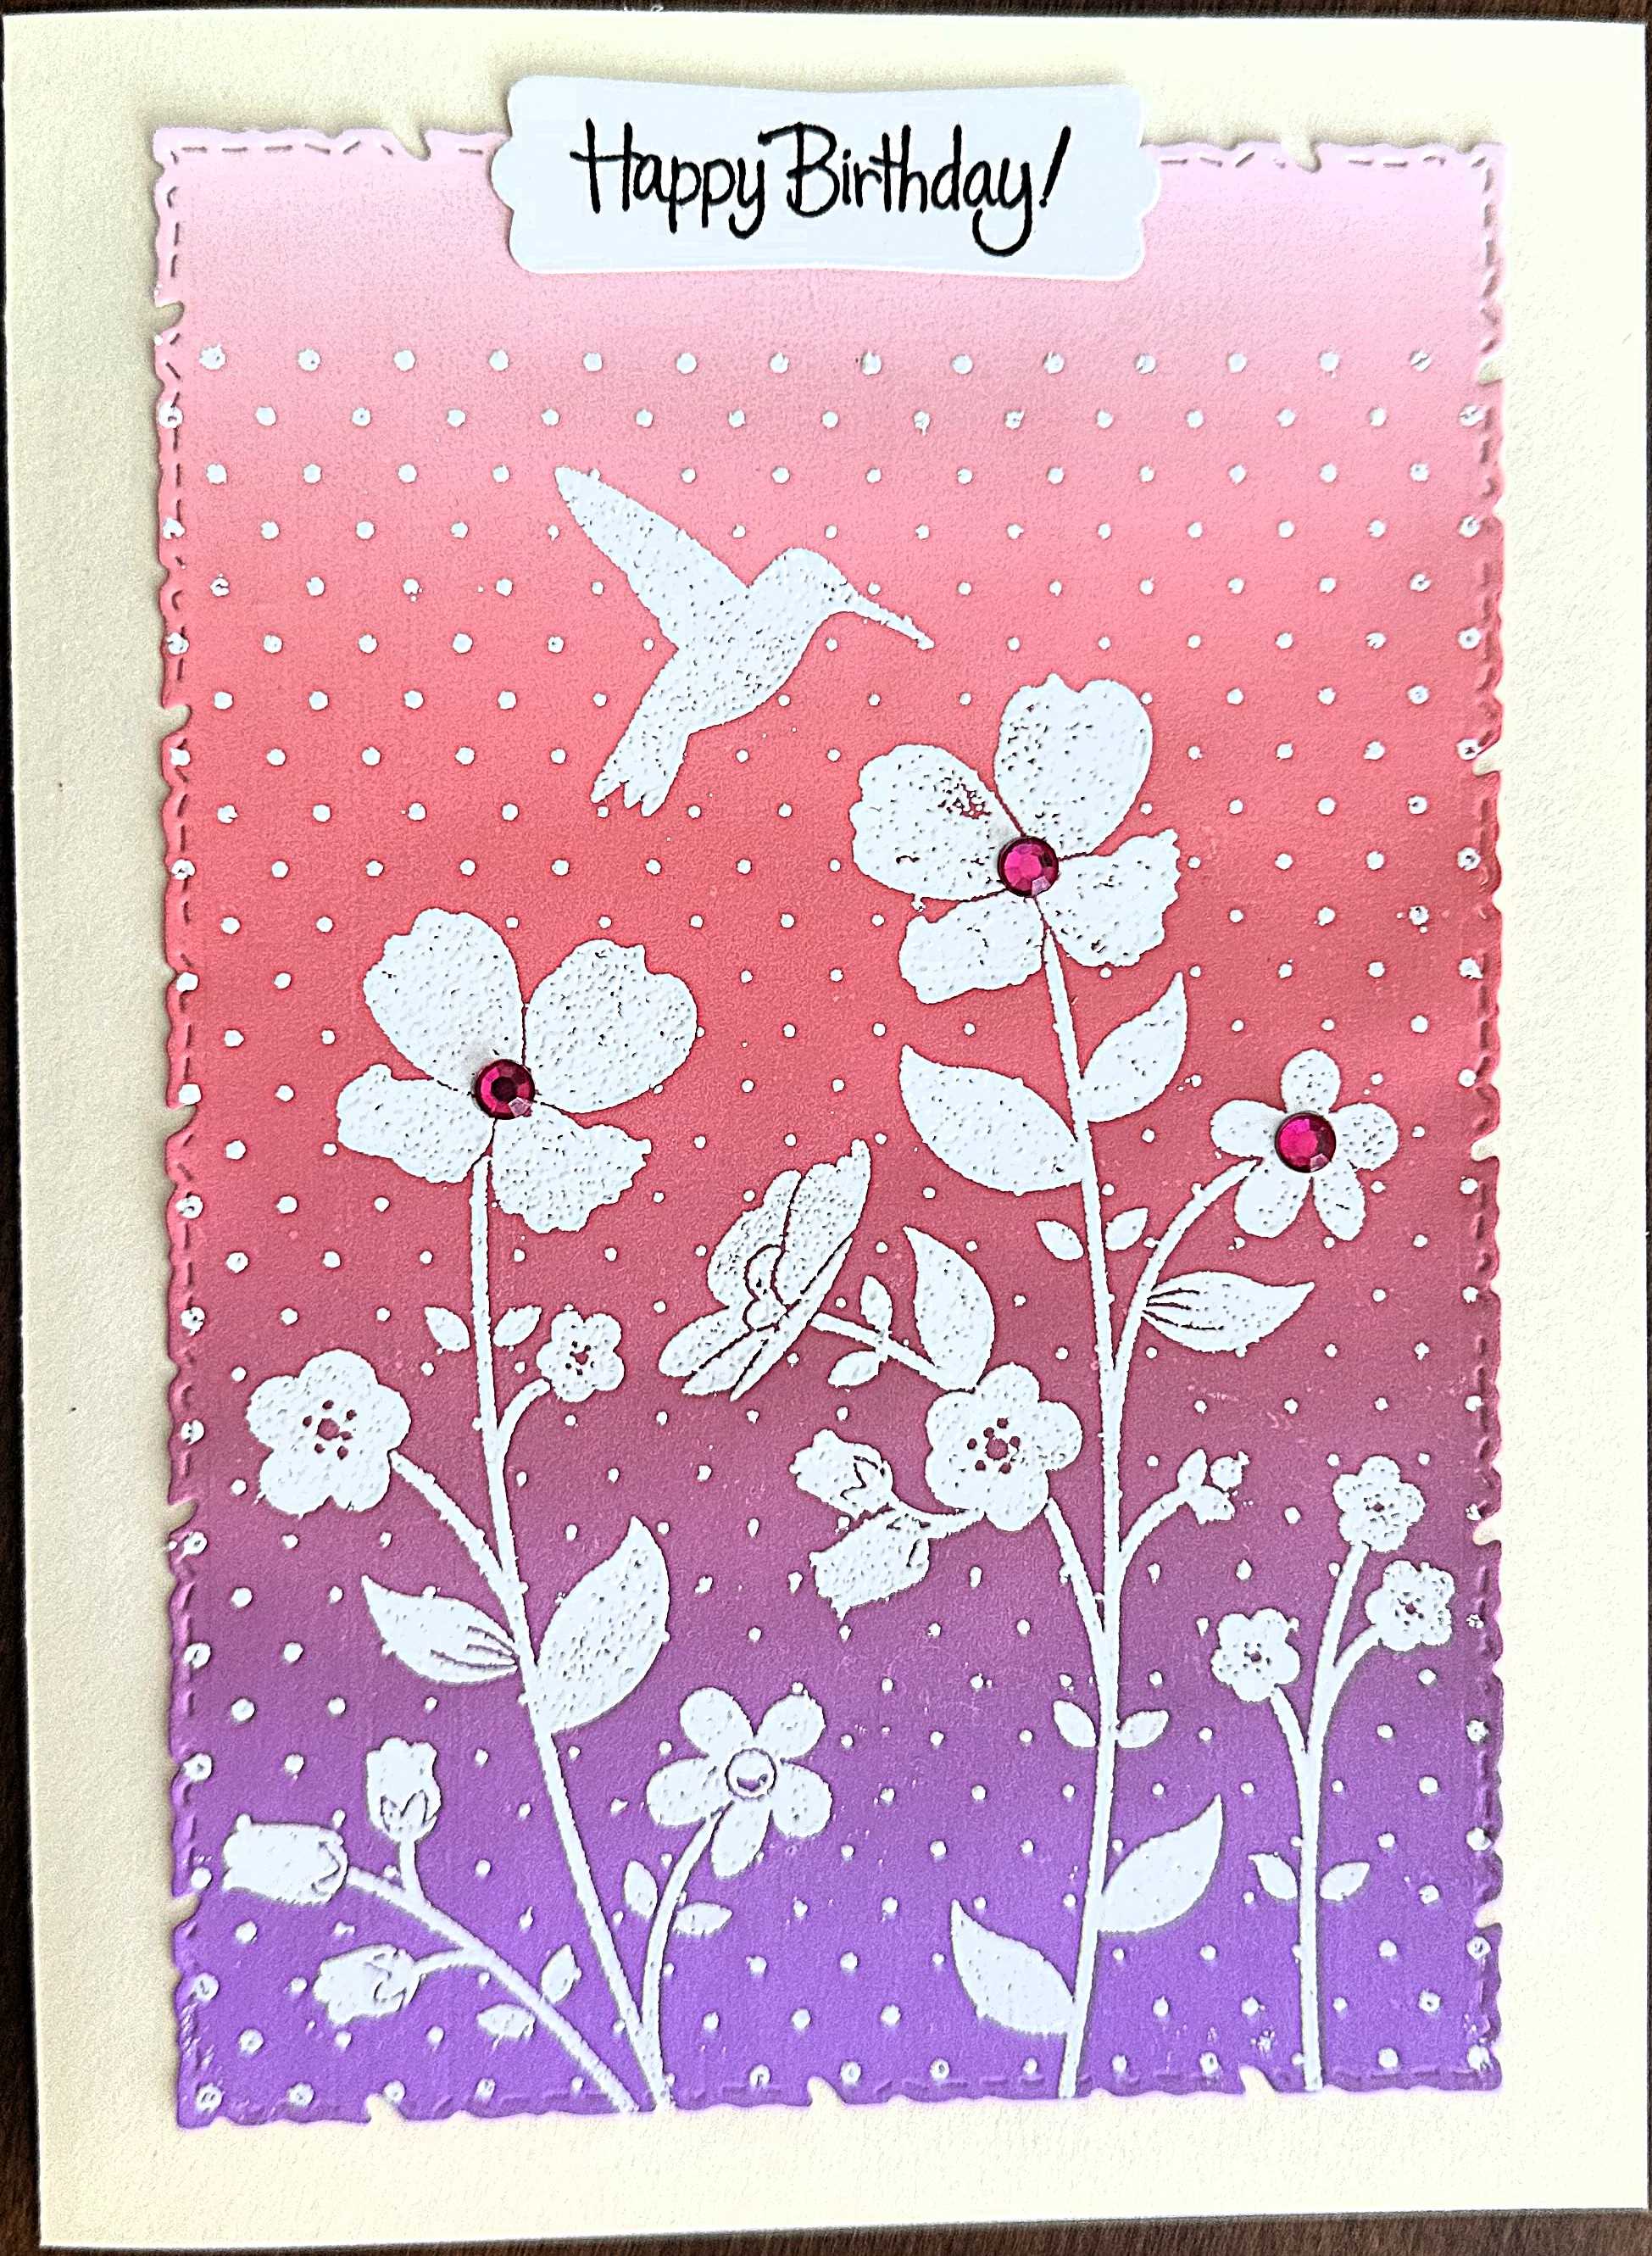
Floating Bridge Flowers Birthday: Emboss pink panels using floral embossing folder and adhere to the sides of bright pink card base. Stamp sentiment to white panels. Sponge die cut flowers with Rose Buds Memento ink. Assemble sentiment stamp panels and die cut flowers and leaves onto card base as shown.

Life Simple Pleasure Birthday: Stamp and color image with watercolor pencils. Adhere onto black die cut frame. Fold double-side card base and adhere front panel as shown. Add stamp sentiment and assemble card as shown before adhering to black card panel.

Sunday, March 23, 2025

Winter 2025 - Gel Monoprinting Workshop - March 12, 2025

Happy Spring everyone,

Hope you are all doing well. Below is quick recap of the cards we made in class. Our last Gel Printing class for Winter 2025 will be on March 26, 2025. 

FYI, the Spring 2025 class schedule is posted online at the PVPUSD website.

Take care,

Connie

3D Emboss Red & Gold Flowers: Brayer a layer of gold acrylic paint onto gel plate, place the deboss side of the floral cardboard panel on top and press lightly to imprint the image onto gel plate. Remove cardboard panel and let gold paint dry completely. Brayer a thin layer of red acrylic paint over the gold image on gel plate, place white paper on top and rub well to make sure all the images transfer onto the paper. Die cut frame and place print into 3D folder to match up images for debossing. Assemble card together as shown. Add gold glitter to flower centers, gold sentiment on pink vellum and corner stickers to finish card.

Distress Inks Honey Bees: Brayer Mustard Seed, Wild Honey & Spiced Marmalade distress inks onto gel plate. Place fabric wrap on top, place white paper over and rub to pick up patterns. Remove fabric wrap and replace paper on top to pick up the rest of the patterns from the gel plate. Die cut frame and adhere onto black mat before placing onto white card base. Add honey bees die cut, gold gems and stamp sentiment to finish card as shown.

Wild Birthday Cheetah: Emboss yellow card panel with spot prints. Brayer a thin layer of gold acrylic paint onto gel plate, place embossed yellow card panel on top and rub lightly to pick up gold paint on raised areas. Die cut with rectangular stitch die. Sponge Tangelo Memento ink on the edge of rectangular panel. Stamp cheetah and sentiment onto white card panel. Die cut shape & color cheetah. Adhere color panels onto card as shown.

Hummingbird & Flowers Birthday: Brayer Spun Sugar, Festive Berries & Wilted Violet distress oxide inks on gel plate and lift print. Die cut with rectangular shape die. Stamp and heat emboss hummingbird & flowers on colored print with white embossing powder. Add gems and stamped sentiment onto ivory card base to finish card as shown.


Monday, March 17, 2025

Winter 2025 - Handmade Greeting Cards Workshop - March 5, 2025

Hello everyone,

Below is a quick recap of the cards we made in class. Next Greeting Cards Workshop will be on March 19, 2025.

Take care,

Connie

Fun Fold Lighthouse (open): Fold card base and adhere pattern papers as shown.

Fun Fold Lighthouse (front): Stamp and heat emboss lighthouse with navy embossing powder. Die cut image with oval stitch die. Sponge edges with Bahama Blue and Paris Dust Memento inks. Adhere to blue oval mat. Add stamp sentiment to finish card as shown.

Deboss Florals: Apply Lulu Lavender Memento ink onto debossing side of embossing folder. Place lavender card panel into folder and run through machine. Adhere card panel to black mat, add die cut white circle with pattern paper, ribbon, flowers and sticker sentiment befor adhering onto lavender card base.

Double Embossing Special Day: Deboss ivory card panel with diamond embossing folder and then emboss with 3D floral embossing folder. Swipe Antique Linen, Frayed Burlap and Vintage Photo distress inks onto panel. Sponge on additional Vintage Photo distress ink as desired and adhere onto black mat. Add stamp sentiment, die cut butterfly, gems and ribbon before adhering onto ivory card base.

Three-step Stamping Rose: Stamp 3-step rose and leaves image onto white card panel using Angel Pink, Rose Bud and Lilac Posies Memento inks. Stamp rose with Rose Bud ink onto pink card panel. Adhere pink, green and white card panels onto white card base as shown. Add bow and stamp sentiment to finish card.

Friday, March 7, 2025

Winter 2025 - Gel Monoprinting Workshop - February 26, 2025

Hello ladies,

Hope you are doing well. 

Below is a quick recap of the cards we made in class. Next Gel Printing class will be March 12, 2025.

Take care,

Connie

Birthday Angel Fish: Brayer Tumble Glass and Cracked Pistachio Distress Oxide inks onto gel plate. Place swirl stencil onto gel plate and stamp script over the top. Remove stamp and stencil and place paper to lift print. Die cut rectangular frame. Adhere die cut fish, gems and stamp sentiment before adhering onto white card base.

Easter Bird House: Brayer Antique Linen and Saltwater Taffy Distress Oxide inks onto gel plate. Place Floral stamp on top and press in the image and remove stamp. Place paper onto gel plate to lift print. With the remaining inks left on the Floral stamp, stamp image onto the lifted print. Use scallop frame die to die cut print. Stamp Bird House image with black ink onto die cut frame. Color image with Prismacolor pencils. Add gold sticker sentiment and adhere onto ivory card base to finish.

Embossed Hibiscus Flowers: Brayer a thin layer of gold acrylic paint onto gel plate. Place 3D embossed banana leaves cardboard on top of gel plate and lightly press leaves image onto gel plate and remove. Let gold paint dry completely and brayer green acrylic paint on top. Place paper over top to pull print. Die cut frame and emboss leave images with 3D embossing folder. Sponge die cut flowers with Tangelo Memento ink. Assemble card together with gems and stamped sentiment onto white card base as shown.

Perfect Pearl Birthday Roses: Place stencil onto gel plate and brush gold Perfect Pearl to cover all open areas of stencil. Clean off all excess powder and remove stencil. Brayer a layer of magenta acrylic paint on top, place paper on top and rub well to lift print.


Tuesday, March 4, 2025

Winter 2025 - Handmade Greeting Cards Workshop - February 19, 2025

Hello everyone,

Hope you are enjoying the sunshine! Below is a recap of the cards we made in class. Next Greeting Cards Workshop will be on March 5, 2025.

Take care,

Connie

Birthday Sailboats: Sponge Grape Jelly & Danube Blue Memento inks onto white card panel. Stamp sailboats, birds & sentiment with black ink. Color boats with red marker and assemble card as shown.

Dragonflies on Acetate: Apply pink, purple & blue alcohol inks onto acetate with felt applicator. Stamp dragonflies with Hickory Smoke Distress Archival ink onto acetate. Wipe stamped acetate with dry paper towel to remove ink and reveal dragonflies images. Adhere acetate behind white floral die cut frame before adhering to white card base with foam tape. Add sticker sentiment and gems to finish card as shown.

Stamped Dragonflies: With the alcohol inks remained on the dragonflies stamp lifted from the acetate (from previous card), stamp image onto white card panel. Die cut stamped panel with rectangular stitch die. Adhere onto purple mat, add sheer ribbon, sentiment and gems before adhering to rose card base.

Fun-Fold Teapot (front): Place teapot and sugar bowl stickers onto watercolor papers and color with watercolors. Fold double-sided pattern card panel and assemble card as shown below. Finish with stamped sentiment.

Fun Fold Teapot-Open 


Spring 2025 - Gel Plate Monoprinting Workshop May 7, 2025

Hello everyone, Hope you are doing well and enjoying the sunshine. Below is a quick recap of the cards we made in our last class. See you in...