Hello everyone,
As usual, two weeks got away from me in a flash! I had a quick, but nice visit with my aunt and uncle from Australia before they left to visit my grandfather.
Just a quick reminder - we don't have class this coming Monday Nov. 14, 2011. It was not scheduled because we thought it was a scheduled holiday initially. Our next class will be on the Monday after Thanksgiving (11/28/11).
Below are the cards we made in class. Starting with this simple card. The card base was pre-cut in the center with a blue background inside. The image was simply stamped with black ink, blue ribbon tied around the left with a simple knot and a sentiment silver sticker placed on blue circle adhered on to the bottom right of the card with foam tape.

This next card was made by taping the suede tan ribbon on to an embossed leave card stock with a sheer poka-dot green ribbon tied around the card. The whole ensemble was then taped onto a kraft color card base. The gold sentiment and leaves stickers were placed onto a punched ivory shape. The kraft backing was punched out using the same punch, cut in half and taped slightly off onto the back of ivory shape to simulate a matted background.

This olive green floral shape was cut out using Spellbinder Lotus die, silk leaves were glued around the inner circle using glue dots to resemble a wreath. The colorful fall ribbon was taped onto the center of the shiny red card front. The wreath was adhered on top of the ribbon with foam tape. Stamp sentiment and sponge edges with brown ink and punch out using oval punch. It's then adhered with foam tape on the bottom of card.

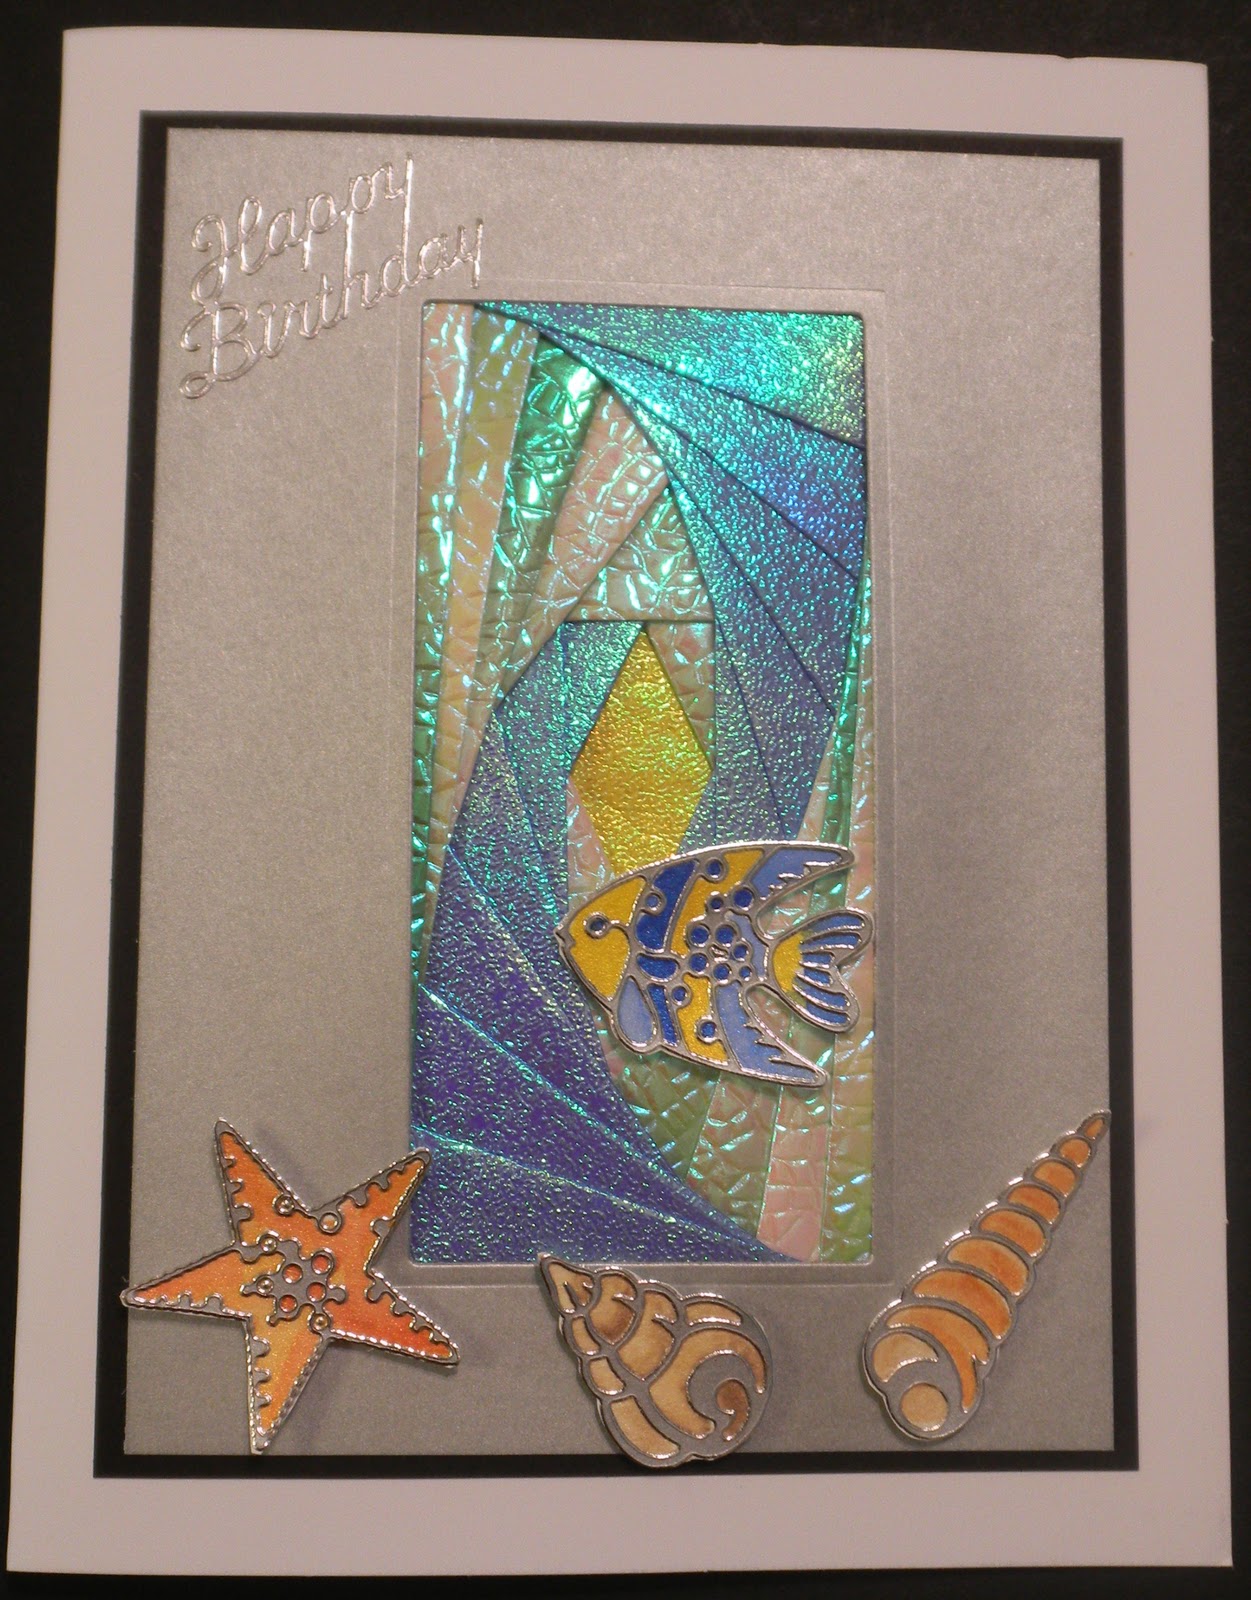
This next card has a bookmark added to the front pocket of the card to make a nice gift. The bookmark was made by heat embossed the stamped image with white embossing ink onto glossy bookmark. Using distress ink (peeled paint & broken china) to sponge on the top and bottom of the bookmark blending in until the desired colors are achieved. Since the image was embossed in white embossing ink, it will pop out from the background. A sheer ribbon was looped through the hole on the top. The front pocket was made by scoring and folding up about 2" from a piece of double-sided pattern paper and adhere using aqua color brads on each side. The top of pattern paper was rounded off before adhering to the front of a white card base. The silver birthday sentiment was added onto a white punched shape with the aqua color background achieved by cutting the punched shape in half and staggered it behind the white shape.

That's it for now. Hope you have a great Thanksgiving and see you all back Monday 11/28/11! If you have any questions, email me.


